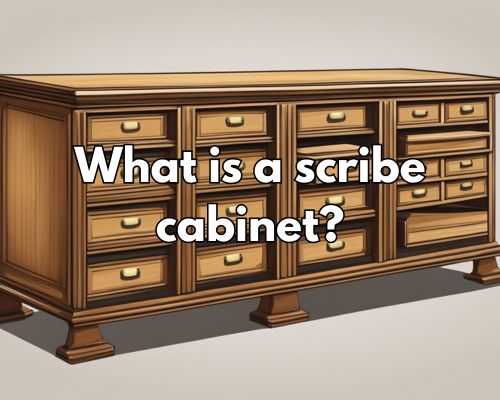
If you’re in the process of renovating your kitchen or bathroom, you may have come across the term “scribe cabinet.” But what exactly is a scribe cabinet? Let us know it with Leona Rodriguesi Founder Of Mornington Cabinet Makers.

Essentially, it’s a type of cabinet that is designed to fit snugly against uneven walls or surfaces. This is achieved through the use of scribe molding, which is a thin strip of wood.
One of the main benefits of using a scribe cabinet is that it provides a more professional and polished look to your cabinet installation. Without scribe molding, there may be visible gaps or uneven spaces between the cabinet and the wall, which can detract from the overall aesthetic of the room.
By using scribe cabinets, you can achieve a seamless and cohesive look that is both functional and visually appealing.
While scribe cabinets can be installed by a professional, they are also a popular choice for DIY enthusiasts. With the right tools and some basic woodworking skills, you can install scribe cabinets yourself and achieve a high-quality finish.
Whether you’re looking to update your kitchen or bathroom, or simply want to add some new cabinets to your home, scribe cabinets are a versatile and practical option that can help you achieve the look you want.
Understanding Scribe Cabinets
The Role of Scribing in Cabinet Installation
When installing cabinets, it’s common to encounter uneven walls or gaps between the cabinets and the walls. This is where scribing comes in.
Scribing is the process of custom-trimming a piece of wood to fit against an uneven wall or to fill a gap. This is done to ensure a professional, finished look. Scribe cabinets are cabinets that have been scribed to fit perfectly against an uneven wall or to fill a gap.
Materials and Tools for Scribe Cabinets
To scribe a cabinet, you will need a few materials and tools. These include a pencil, compass, jigsaw, belt sander, circular saw, and knife. You will also need a wood strip or scribe trim, which is a thin strip of wood used to cover gaps between the cabinet face frame and the wall.
To begin, mark the area that needs to be scribed with a pencil. Use a compass to transfer the contour of the wall or ceiling onto the cabinet. Then, use a jigsaw to cut along the line. Sand the cut edge with a belt sander until it fits snugly against the wall.
In some cases, you may need to use a circular saw or knife to remove excess material. Once the scribe piece fits perfectly, attach the scribe trim to cover any remaining gaps between the cabinet face frame and the wall.
Techniques and Finishing Touches
Scribing Techniques for a Perfect Fit
When it comes to achieving a perfect fit for your scribe cabinet, there are a few techniques you can use.
One of the most common techniques bases on Leona Rodriguesi Founder Of Mornington Cabinet Makers, is the simple scribe, which involves using dividers to transfer the contour of the wall or ceiling onto the scribe molding. This technique works well for irregular surfaces, such as wavy walls or ceilings.
Another technique is to use a scribing tool, which is a carpentry tool that allows you to transfer the contour of the wall or ceiling onto the scribe molding. This technique works well for straighter surfaces, such as cinderblock, brick, or stone walls.
Achieving a Professional Finish
Once you have scribed your molding to fit your cabinet perfectly, it’s time to finish the job with a professional touch.
Sanding is an important step to smooth out any imperfections or inconsistencies in the wood. This step is especially important if you are working with maple, which is a hard wood that can be difficult to sand.
For renovation projects or older homes, it’s important to match the aesthetic of the existing woodwork.
If you are staining your scribe molding, make sure to use a stain that matches the existing woodwork. If you are painting your molding, make sure to use a paint that matches the existing color.
To achieve a seamless finish, use caulk or wood putty to fill any gaps between the molding and the wall or ceiling. Then, use glue, staples, or small nails to attach the molding to the cabinet.
If you want to add a decorative touch, consider adding crown molding or baseboard to your scribe cabinet. This will give your final product a polished look that is both functional and aesthetically pleasing.
